Maintaining your HVAC system is crucial for keeping your home comfortable and energy-efficient. In this article, you will find 10 DIY HVAC maintenance tips that will help you keep your system in top shape. From changing filters regularly to cleaning the outdoor unit, these tips will not only save you money on costly repairs but also ensure that your HVAC system works efficiently year-round. So, grab your tools and get ready to tackle these maintenance tasks to keep your home’s temperature just right.
1. Check and Change Air Filters Regularly
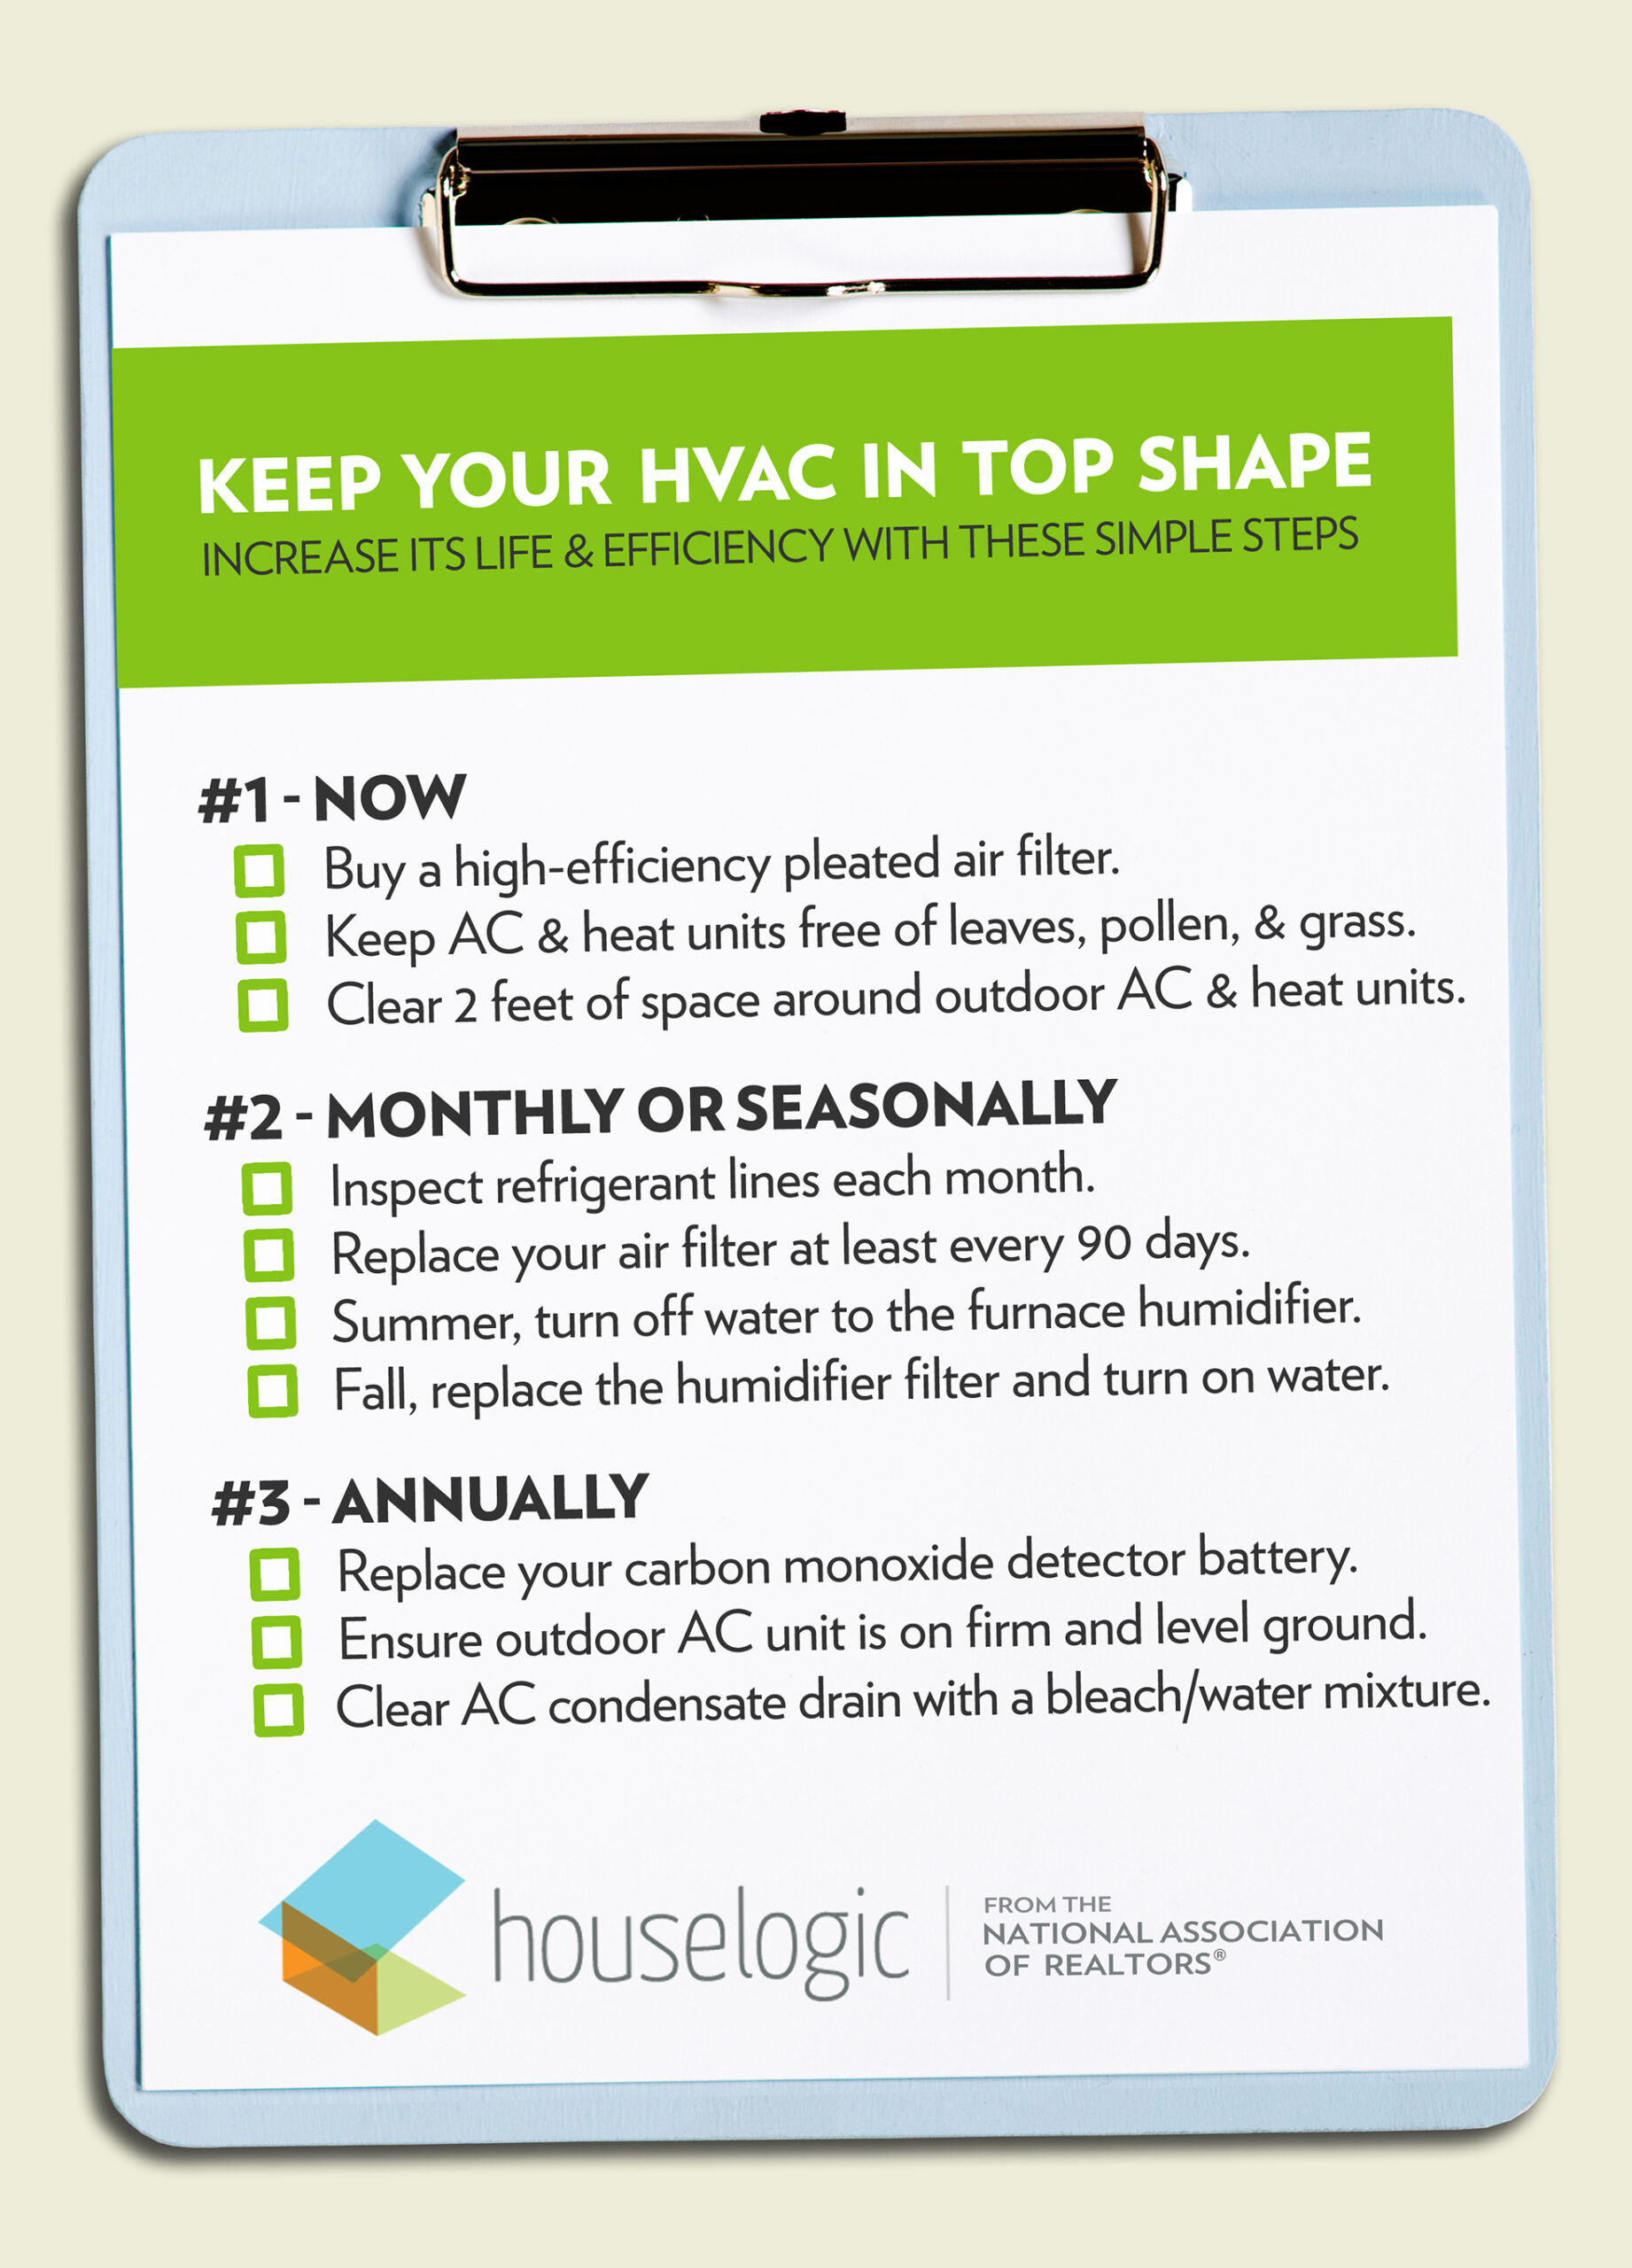
Maintaining clean air filters is essential for the optimal performance and energy efficiency of your HVAC system. Air filters trap dust, dirt, pollen, and other airborne particles, preventing them from circulating in your home and potentially causing respiratory issues or damaging your system. To ensure clean air flow, it’s crucial to check and change your air filters regularly.
To check your air filters, locate the filter access panel on your indoor unit. Open the panel and carefully remove the filter. Hold it up to the light and inspect it for dirt and debris. If you can’t see light passing through the filter, it’s time for a replacement. It’s generally recommended to change your air filters every 30 to 90 days, depending on the type and quality of the filter you use.
When replacing your air filters, make sure to choose the right size and type of filter for your system. Consult your HVAC system’s manual or contact a professional if you’re unsure about the correct specifications. Remember to turn off your HVAC system before removing or inserting new filters to avoid any potential damage.
2. Clean and Clear the Outdoor Unit
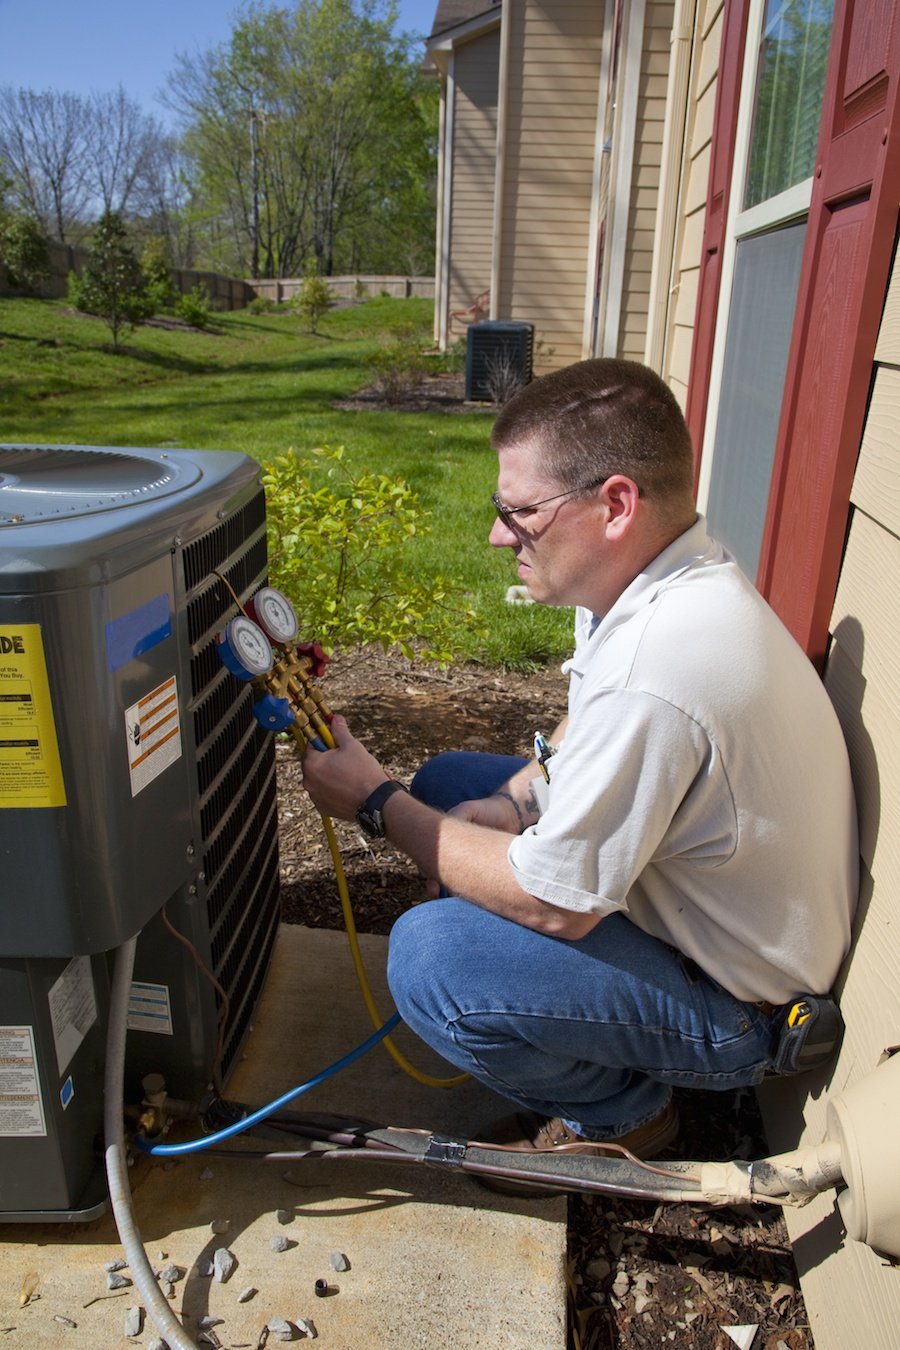
The outdoor unit of your HVAC system, known as the condenser unit, is exposed to various elements, such as dirt, leaves, and debris. Regularly cleaning and clearing the area around your outdoor unit is crucial to ensure proper airflow and prevent any obstructions.
Start by switching off the power supply to the condenser unit. Next, remove any large debris, such as leaves or branches, from the unit and the surrounding area. Be cautious not to damage the delicate fins of the condenser.
To clean the condenser fins, gently spray water from a garden hose in a downward direction to remove any dirt or dust accumulation. Avoid using high-pressure water, as it can bend or damage the fins. If the fins are severely dirty, you may need to use a soft brush or fin cleaner to remove stubborn grime.
Lastly, check the condenser’s fan blades for any signs of damage or wear. If you notice any cracks or chips, it’s advisable to contact a professional HVAC technician for further inspection and repair.

This image is property of images.squarespace-cdn.com.
3. Inspect and Clean the Indoor Unit and Vents
The indoor unit of your HVAC system, which comprises the evaporator coil, blower fan, and air vents, also requires regular inspection and cleaning to ensure efficient operation and good air quality in your home.
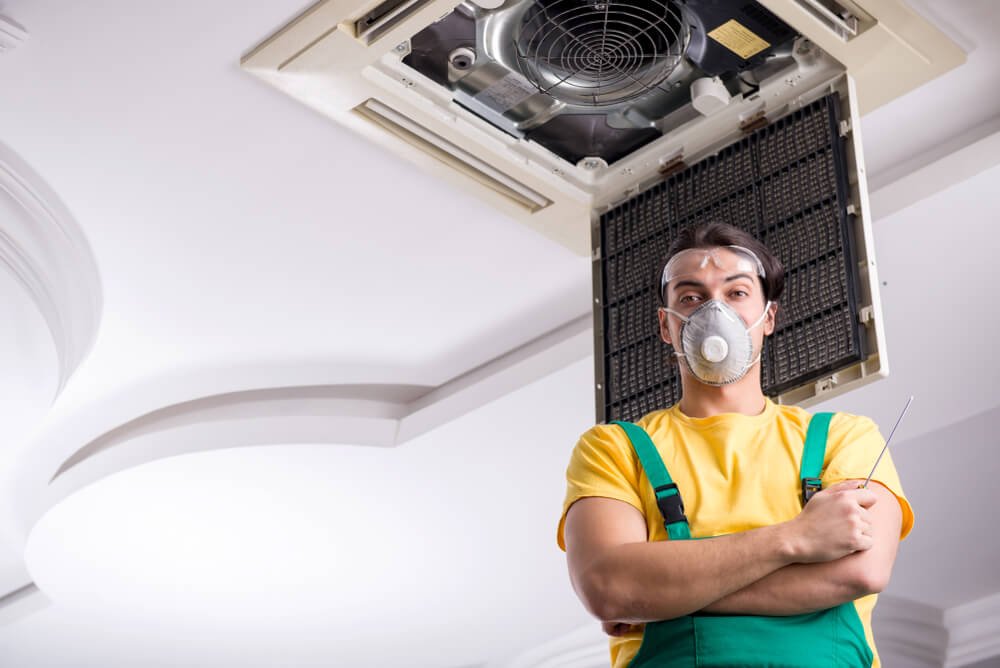
To inspect the indoor unit, remove the cover or access panel. Examine the evaporator coil for any dust or debris buildup. If you notice significant accumulation, use a soft brush or a gentle vacuum attachment to carefully remove the dirt. Avoid applying excessive force to the evaporator coil, as it can be easily damaged.
Next, inspect the blower fan and clean it if necessary. Dust and dirt can accumulate on the blades and hinder the fan’s performance, so take a damp cloth and gently wipe away any residue. Be cautious not to bend or damage the blades while cleaning.
Finally, check the air vents throughout your home. Remove any dust or debris from the vent covers using a vacuum cleaner or a soft brush. Ensure that all vents are unblocked and free from obstructions for optimal air circulation.
4. Maintain Proper Airflow
Proper airflow is essential for your HVAC system to function efficiently and keep your home comfortable. Here are a couple of DIY maintenance tips to ensure optimal airflow:
4.1 Clean or Unblock Air Registers
Air registers, also known as grilles or vents, are responsible for distributing conditioned air throughout your home. Over time, dust, dirt, and debris can accumulate on the registers, obstructing airflow. It’s important to clean or unblock these registers regularly.
To clean the air registers, remove the vent covers and gently wash them with warm, soapy water. Use a soft brush or cloth to remove any dirt or debris from the vent openings. Ensure the vent covers are completely dry before reattaching them.
If you notice that some rooms are not receiving sufficient airflow, check for any obstructions or blockages near the registers. Furniture, curtains, or other objects placed too close to the vents can restrict air circulation. Rearranging these items will help improve airflow and the overall efficiency of your HVAC system.
4.2 Clear Dust and Debris from Air Ducts
Air ducts play a crucial role in delivering conditioned air throughout your home. Over time, dust, pet dander, and other airborne particles can accumulate in the ducts, restricting airflow and potentially impacting indoor air quality.
While professional duct cleaning is recommended every few years, there are some DIY steps you can take to maintain your air ducts. Start by removing the vent covers from the air ducts and vacuuming as far as you can reach. Use a long, flexible hose attachment to reach deep into the ducts and remove as much dust and debris as possible.
For a more thorough cleaning, consider using a duct cleaning brush or a DIY air duct cleaning kit, which typically includes a brush attachment that connects to a vacuum cleaner hose. Follow the manufacturer’s instructions to safely and effectively clean the air ducts.
If you suspect significant dust or mold growth in your air ducts, it’s best to consult a professional duct cleaning service to ensure a proper and thorough cleaning.

This image is property of static.houselogic.com.
5. Monitor and Adjust Thermostat Settings
Your thermostat plays a crucial role in determining the comfort level and energy efficiency of your HVAC system. Regularly monitoring and adjusting the thermostat settings can help optimize your system’s performance and save energy.
During the cooling season, set your thermostat to the highest temperature at which you still feel comfortable. The U.S. Department of Energy recommends keeping the thermostat at around 78°F (25°C) to balance comfort and energy savings. When you’re not at home or during nighttime, consider raising the temperature by a few degrees to further conserve energy.
In the heating season, set your thermostat to the lowest temperature at which you feel comfortable. The recommended temperature during this period is around 68°F (20°C). Lowering the temperature when you’re away or asleep can help reduce energy consumption and lower your heating bills.
Consider installing a programmable thermostat if you haven’t already. These devices allow you to set different temperature schedules for different times of the day, ensuring optimal comfort and energy efficiency. Programmable thermostats can automatically adjust the temperature based on your preferences, saving you time and energy.
Regularly check the batteries in your thermostat and replace them as needed to avoid any unexpected malfunctions. If you notice any irregularities or issues with your thermostat, contact an HVAC professional for assistance.
6. Keep Condensate Drain Lines Clear
Condensate drain lines are responsible for removing the moisture that accumulates during the cooling process of your HVAC system. Over time, these drains can become clogged with algae, mold, or dirt, leading to potential backups and water damage. Keeping the condensate drain lines clear is crucial for the proper functioning of your system.
To prevent clogs, ensure that the condensate drain lines are free from any obstructions. Inspect the drain lines regularly for signs of mold, algae, or dirt buildup. If you notice any blockages, you can try using a wet-dry vacuum to remove the clog. Alternatively, a mixture of bleach and water can be poured into the drain line to help clear algae or mold growth. However, be cautious when using bleach and ensure proper ventilation.
If you’re unsure about clearing the condensate drain lines yourself or if you encounter persistent clogs, it’s best to consult a professional HVAC technician. They have the necessary tools and expertise to safely and effectively clear any blockages and prevent potential damage to your system.

This image is property of i.visual.ly.
7. Check and Tighten Electrical Connections
Your HVAC system relies on various electrical connections to function properly. Over time, these connections can become loose or corroded, leading to potential malfunctions or even electrical hazards. Regularly checking and tightening electrical connections is an important part of HVAC maintenance.
Before inspecting any electrical components, switch off the power supply to your HVAC system. Start by examining the electrical panels near your indoor and outdoor units. Carefully inspect the wiring and connections for any signs of damage, such as frayed wires, burnt marks, or loose fittings.
If you notice any loose connections, use an appropriate tool to tighten them gently. Avoid overtightening, as it can cause damage or strip the threads. If you encounter any damaged wires or suspect any electrical issues, it’s crucial to contact a licensed electrician or HVAC professional for further investigation and repairs.
Remember, working with electrical components can be hazardous. If you’re uncomfortable or unsure about handling electrical connections, it’s safer to leave the task to a qualified professional.
8. Lubricate Moving Parts
Your HVAC system contains various moving parts, such as motors, bearings, and fans, that require lubrication to operate smoothly and reduce friction. Properly lubricated components help improve energy efficiency and extend the lifespan of your system.
Refer to your HVAC system’s manual to identify the specific parts that require lubrication and the type of lubricant recommended. Common lubrication points include the motor bearings, fan motor, and other moving parts indicated by the manufacturer.
Before applying lubricant, ensure that the power supply to the system is turned off. Carefully clean any dirt or debris from the lubrication points using a soft cloth or brush. Apply the appropriate lubricant as advised in the manual, taking care not to over-lubricate.
Over-lubrication can be as detrimental as under-lubrication, as it can attract dirt and cause excessive strain on the components. If you’re unsure about the correct lubrication procedure or if you encounter any difficulties, it’s best to consult an HVAC professional for guidance.

This image is property of www.bjheatingandair.com.
9. Inspect and Clean Evaporator and Condenser Coils
The evaporator and condenser coils are vital components of your HVAC system, responsible for the exchange of heat between the indoor and outdoor units. Over time, these coils can accumulate dust, dirt, and other debris, reducing their efficiency and potentially causing damage.
To inspect the evaporator coil, carefully remove the access panel from your indoor unit. Examine the coil for any visible dirt or debris accumulation. If you notice significant buildup, it’s advisable to hire a professional HVAC technician to clean the coil thoroughly. Cleaning the evaporator coil requires specialized knowledge and equipment to avoid any damage.
Similarly, the condenser coil in the outdoor unit can accumulate dust and dirt, hindering its performance. While you can clean the condenser fins yourself, it’s recommended to consult a professional for a thorough cleaning of the condenser coil. They have the necessary expertise to handle delicate components and effectively remove any stubborn debris.
Regular professional cleaning of the evaporator and condenser coils ensures optimal heat exchange, improves energy efficiency, and prolongs the lifespan of your HVAC system.
10. Schedule Professional HVAC Maintenance
While there are several DIY HVAC maintenance tasks you can perform, scheduling regular professional maintenance is vital for the longevity and performance of your system. Professional HVAC technicians have the expertise, experience, and specialized tools necessary to identify and address potential issues before they turn into costly repairs.
Professional maintenance typically includes a comprehensive inspection of all system components, cleaning of coils and filters, lubrication of moving parts, testing of electrical connections, and verification of overall system performance. HVAC technicians can also detect and diagnose any underlying problems that may not be apparent to an untrained eye.
To ensure maximum efficiency and reliability, it’s recommended to schedule professional HVAC maintenance at least once a year. Ideally, it’s best to have maintenance performed before the cooling season begins to ensure your system is in top shape for the increased demand.
By investing in professional maintenance, you not only save money on potential repairs but also optimize your HVAC system’s energy efficiency, leading to lower utility bills. Additionally, regular maintenance helps maintain healthy indoor air quality and ensures a comfortable living environment for you and your family.
In conclusion, regular DIY HVAC maintenance is crucial to keep your system running efficiently, prolong its lifespan, and enhance your indoor comfort. By following these ten tips, you can ensure optimal performance, energy savings, and improved air quality in your home. However, it’s important to remember that certain maintenance tasks require professional expertise, so don’t hesitate to contact a qualified HVAC technician for any complex issues or to schedule regular professional maintenance.

This image is property of cdn2.hubspot.net.
The post 10 DIY HVAC Maintenance Tips appeared first on Diamond Air Design.

